Introduction to 7 Layer Bars
What are 7 Layer Bars and why are they loved?
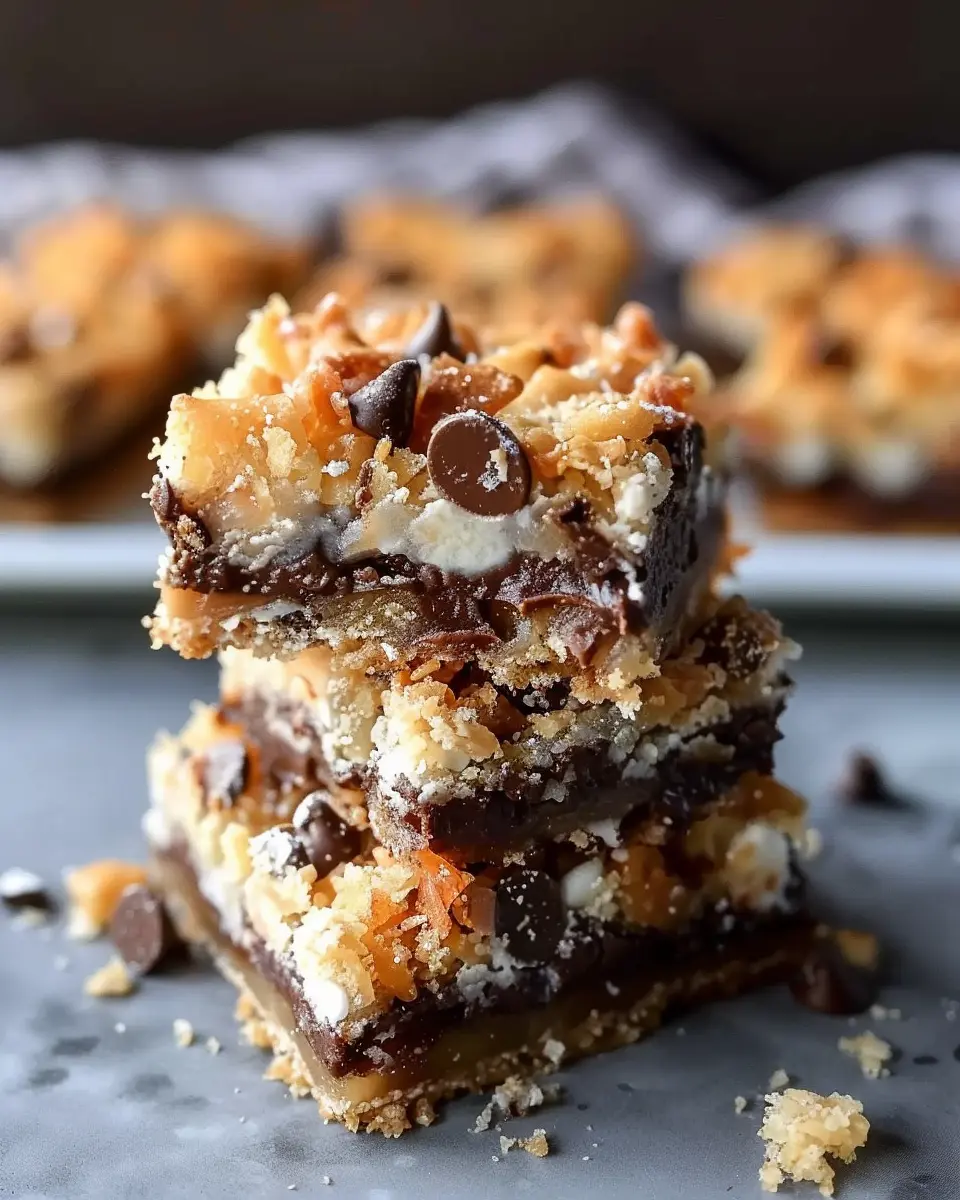
If you’re on the hunt for the ultimate sweet treat that captures the hearts and taste buds of many, look no further than 7 layer bars—often affectionately referred to as magic cookie bars. These delightful confections are a decadent, easy-to-make dessert that brings together layers of rich flavors and textures.
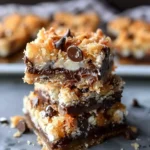
So, what exactly are these 7 layer bars? Picture this: a buttery graham cracker crust, topped with a generous layer of sweetened condensed milk, followed by waves of chocolate chips, butterscotch chips, toasted coconut, and a sprinkle of chopped nuts. The best part? You can customize the layers based on what you love or what you have in your pantry. Isn’t that a game changer?
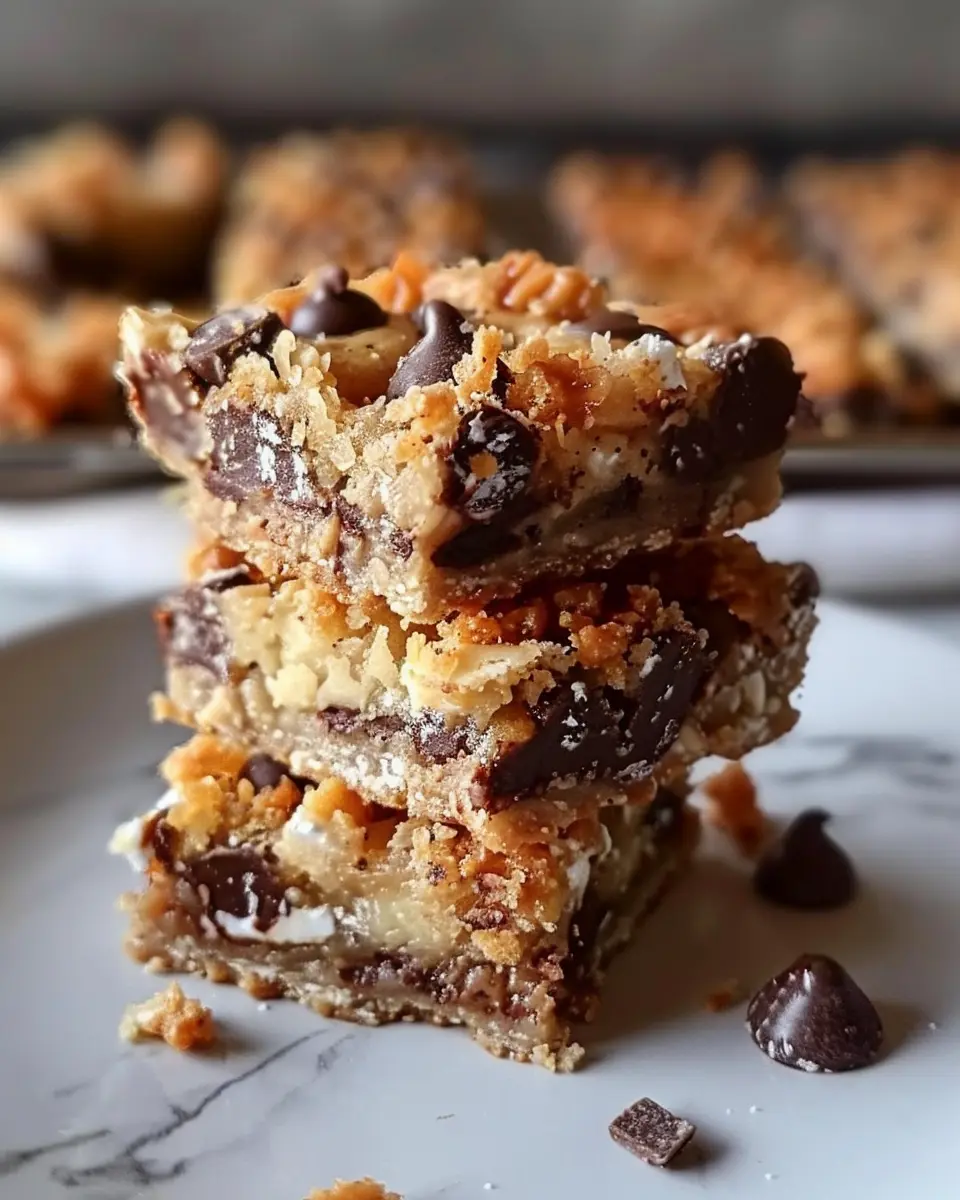
One reason people rave about 7 layer bars is their versatility. Whether you’re preparing for a festive gathering, a casual night in, or simply craving something sweet, these bars fit the bill effortlessly. According to the American Baking Guild, desserts with multiple textures tend to be more appealing, and these bars certainly deliver with every bite—chewy coconut, smooth chocolate, and crunchy nuts—what’s not to love?
Personally, I remember my first encounter with 7 layer bars at a friend’s potluck dinner. I was mesmerized by the rich, gooey layers and the delightful crunch of nuts that complemented the creamy, sweet flavors. Since then, I’ve made them countless times, often experimenting with different ingredients. For instance, swapping classic chocolate chips for white chocolate or adding a layer of peanut butter for a nutty twist can take your bars to a whole new level.
Whether you then indulge in these scrumptious squares on movie night or share them at the office, one thing is clear: 7 layer bars have a way of uniting folks over their deliciousness. If you’re ready to dive into making these little pieces of heaven, hang tight for the recipe that’ll make your taste buds sing!
For more fun variations and tips on baking, check out Baker’s Corner for inspiration!
Ingredients for 7 Layer Bars
Essential ingredients for the perfect 7 layer bars
Creating the ultimate 7 layer bars is easier than you think! These layers come together beautifully, providing a symphony of flavors and textures. Here’s what you need to get started:
- Graham Cracker Crust: This crispy base sets the foundation. Feel free to experiment with gluten-free options if needed!
- Sweetened Condensed Milk: A can of this creamy goodness helps bind everything together and adds the right amount of sweetness.
- Chocolate Chips: Go for semi-sweet or dark chocolate for that rich flavor.
- Butterscotch Chips: These add a lovely sweet twist—perfect to balance the chocolate.
- Coconut Flakes: Choose unsweetened for a more authentic taste.
- Chopped Nuts: Pecans or walnuts are popular, but use your favorite!
- Optional Toppings: Drizzle melted chocolate on top for that extra indulgence.
Optional ingredients to customize your bars
Feeling adventurous? You can easily tweak your 7 layer bars to suit your taste. Consider adding:
- Nut Butters: Tahini or almond butter can add a creamy richness.
- Dried Fruits: Raisins, cranberries, or chopped apricots can provide a fruity zest.
- Spices: A sprinkle of cinnamon or sea salt elevates the flavors.
With endless possibilities, these bars can be uniquely yours! Check out this guide on mixing flavors to inspire your next creation. Enjoy baking!
Step-by-Step Preparation of 7 Layer Bars
Creating the perfect 7 layer bars at home is not just about following a recipe; it’s about crafting a deliciously indulgent treat that brings a smile with each bite. Whether you’re preparing them for a party, a family gathering, or just because, let’s make the experience enjoyable and straightforward. Here’s a comprehensive guide to help you through the process!
Gather and Prepare the Ingredients
Before diving into the delightful world of baking, it’s essential to have all your ingredients ready. For these 7 layer bars, you’ll need:
- 1 cup graham cracker crumbs
- 1/2 cup unsalted butter, melted
- 1 cup sweetened condensed milk
- 1 cup chocolate chips
- 1 cup butterscotch chips
- 1 cup shredded coconut
- 1 cup chopped nuts (pecans or walnuts work beautifully)
Make sure to measure these ingredients accurately. Having everything prepped will help keep your kitchen organized and make the process much smoother (and more enjoyable!). Did you know that mismeasured ingredients can greatly affect the final product? To learn more about ingredient ratios, check out this baking guide from the Great British Baking Show.
Preheat and Prepare Your Baking Dish
Now that you’re fully equipped, it’s time to get your oven ready. Preheat it to 350°F (175°C). Meanwhile, grab a 9×13 inch baking dish and grease it lightly with cooking spray or line it with parchment paper. This step is crucial as it prevents the bars from sticking to the dish, allowing for an easy transfer once they’re all baked and cooled.
Greasing or lining eliminates the headache of messy clean-up, too! Have you ever tried cutting bars that cling stubbornly to the pan? Not fun.
Layer the Ingredients Thoughtfully
With your dish prepped, it’s time to assemble your 7 layer bars. Here’s how to do it thoughtfully:
-
Graham Cracker Base: Start by spreading the graham cracker crumbs evenly across the bottom of the pan, pressing them down gently. Drizzle the melted butter over the crumbs and mix well.
-
A Sweet Drizzle: Pour the sweetened condensed milk evenly over the graham cracker layer. This is what binds all the other ingredients together and adds that magic touch!
-
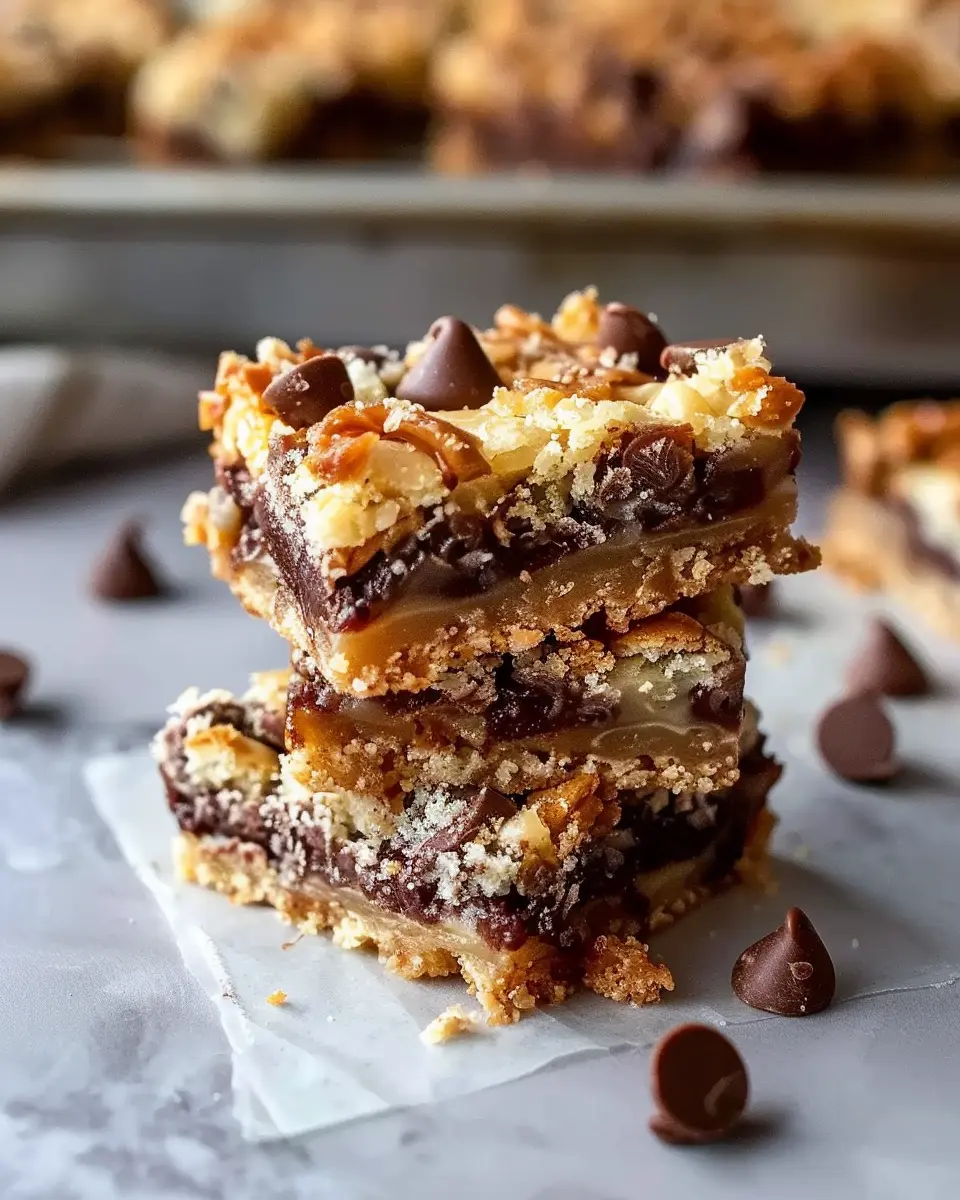
Add the Layers: Now it’s time for the fun part! Sprinkle the chocolate chips, butterscotch chips, coconut, and nuts one by one, layering them beautifully. You want a nice, even distribution to ensure every bite is as delicious as the last.
Bake the Bars to Perfection
Once your ingredients are layered, pop the dish into the preheated oven. Bake for about 25-30 minutes, or until the edges turn golden brown and the center looks set. Keep an eye on them to avoid burning; those golden edges are key to achieving that perfect texture!
If you have a timer, now’s the time to put it to use. Baking can become a guessing game, but with a little practice, you’ll start to recognize when your 7 layer bars are ready.
Cool and Cut for Serving
After baking, it’s essential to let your bars cool completely in the pan. This can take about 1-2 hours, but if you’re in a hurry, you can speed up the process by placing them in the fridge for about 30 minutes.
Once they’re cool, use a sharp knife to cut them into squares. Make sure to wipe the knife with a damp cloth between cuts to help keep the edges clean. Serve them as they are, or with a scoop of vanilla ice cream for an added treat!
For tips on serving and storing these heavenly bars, consider checking out this expert dessert storage guide.
And there you have it! A step-by-step process that takes the guesswork out of creating irresistible 7 layer bars. Enjoy every delicious layer!
Variations on 7 Layer Bars
Exploring different variations of 7 layer bars can breathe new life into this classic dessert. Here’s how to get creative with your next batch!
Coconut and Chocolate Twist
If you’re a fan of tropical flavors, consider adding a coconut and chocolate twist to your 7 layer bars. Begin by substituting part of the chocolate chips with toasted coconut. The combination of sweet, chewy coconut and rich chocolate creates a delicious contrast that’s hard to resist. Alternatively, drizzle melted dark chocolate over the top before cutting them into squares for an extra indulgent touch.
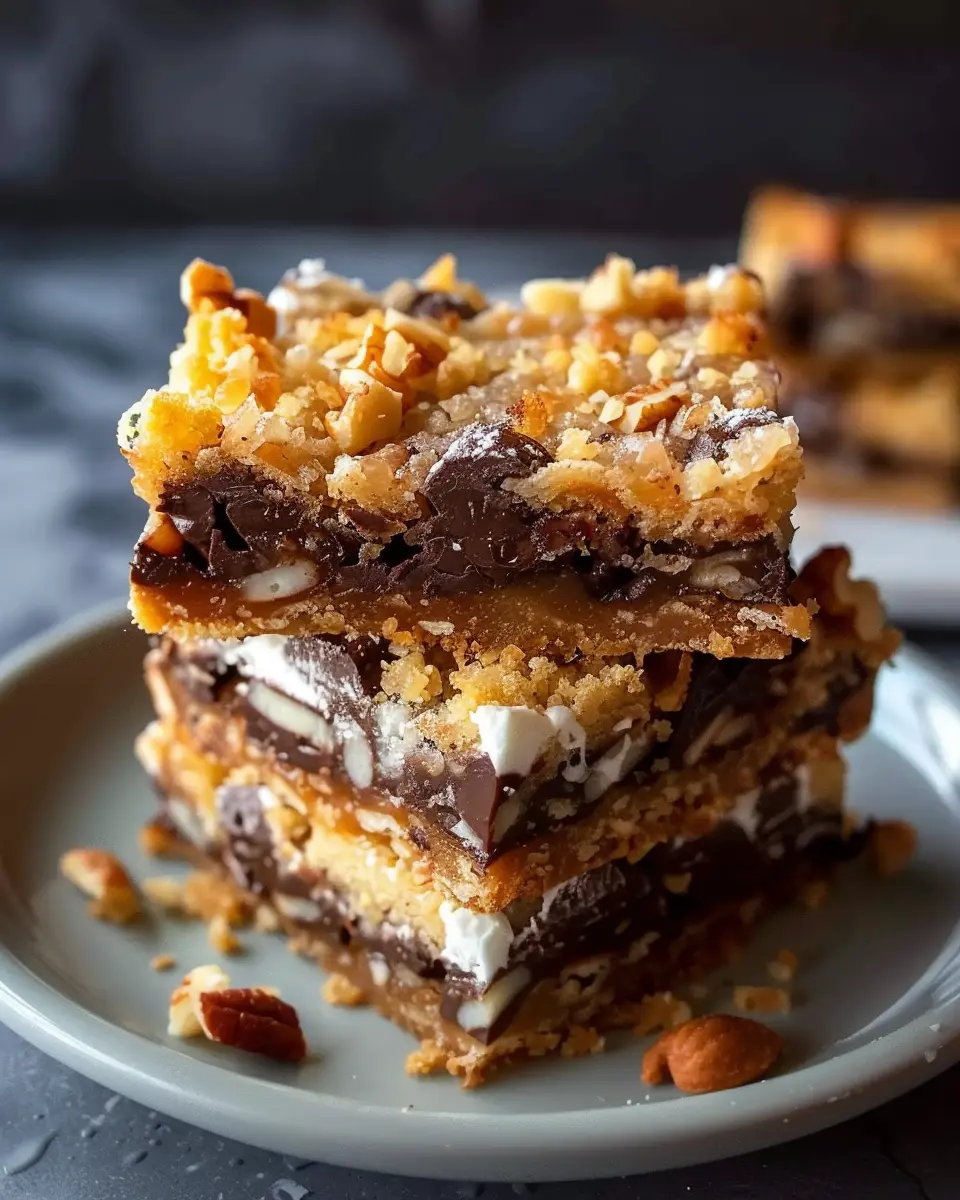
Nutty 7 Layer Delight
Nut lovers will appreciate this variation. Toss in your favorite nuts—like almonds, pecans, or walnuts—between the layers for added crunch. Not only do they enhance the flavor, but they also pack a protein punch, making each bite a delightful surprise. Consider mixing salted and unsalted nuts to balance sweetness with a hint of savory. According to a report from the American Heart Association, incorporating nuts into your diet can improve heart health, so why not indulge guilt-free?
Seasonal Fruit-Infused 7 Layer Bars
Why limit your 7 layer bars to just the basics? Seasonal fruits can elevate your treats to new heights. For spring and summer, try adding fresh raspberries or strawberries into the mix. In fall, chopped apples with a sprinkle of cinnamon can add a delicious autumnal twist. The incorporation of fruit not only looks gorgeous but also brings a hint of acidity that expertly balances the sweetness of the bars.
Whether you prefer classic recipes or unique spins, these variations will help you make the most of your next batch of 7 layer bars. Happy baking!
Cooking Tips and Notes for 7 Layer Bars
Common Mistakes to Avoid
When whipping up your 7 layer bars, it’s easy to overlook a few small—but critical—details. Here are some common pitfalls to steer clear from:
- Layering Issues: Ensure you evenly distribute each ingredient; clumps create uneven bites.
- Butter Measurement: Going light on butter can lead to dry layers. Stick to the recommended amount for that gooey texture.
- Pre-Baking Crust: If you skip pre-baking the crust, your bars might turn out soggy. A quick bake sets the foundation.
How to Enhance the Flavors
Your 7 layer bars deserve a little extra love! Consider these tips for an flavor boost:
- Add Nuts: Incorporate walnuts or pecans for a delightful crunch; they also bring rich flavor depth.
- Use Quality Chocolate: Higher quality chocolate chips make a difference—opt for semi-sweet or dark varieties.
- Sprinkle Sea Salt: A light pinch of sea salt on top can wonderfully balance the sweetness.
With these tips, your 7 layer bars are sure to be a crowd-pleaser! For more information on baking techniques, check out Serious Eats. Happy baking!
Serving Suggestions for 7 Layer Bars
Enjoying Them with Coffee
A warm cup of coffee is the perfect companion for your 7 layer bars. The rich, buttery flavors of the bars contrast beautifully with a robust brew, creating a delightful balance. Consider pairing these sweet treats with a smooth latte or a bold espresso. A sprinkle of cinnamon on top of your coffee can elevate the experience even further, making it a cozy afternoon ritual. Need a little inspiration? Check out this fantastic guide on coffee pairings.
Pairing with Fresh Fruit
To add a refreshing twist, serve your 7 layer bars with a side of fresh fruit. Juicy strawberries, tangy orange slices, or a handful of blueberries not only enhance the taste but also add a nutritious element to your snack time. The acidity of the fruit cuts through the richness of the bars, making each bite a delightful surprise. Fruits with vibrant colors also add a beautiful presentation to your platter!
Creative Ways to Present Them at Gatherings
For your next gathering, impress your friends by creatively presenting your 7 layer bars. Cut them into bite-sized squares and arrange them on a tiered cake stand. You might even drizzle some melted chocolate or caramel sauce on top for an extra touch. Use colorful napkins and small decorative plates to add a festive flair. Pair with herbal teas or sparkling water to keep the refreshment options lively and interesting! This not only makes for an aesthetically pleasing display but also invites an element of fun to your dessert table.
Time Breakdown for 7 Layer Bars
Creating 7 layer bars is a delightful way to brighten any occasion. Here’s how your time will stack up.
Preparation time
Get those creative baking juices flowing! You’ll need about 15 minutes to gather and prep your ingredients. Make sure to measure out your layers—this is key to achieving that iconic texture.
Baking time
Next, you’ll pop those layered beauties into the oven. Bake for 25-30 minutes until the top turns a golden brown. The delicious aroma will fill your kitchen!
Cooling time
Resist the urge to dig in right away! Allow the bars to cool for at least 30 minutes to set properly. This patience will pay off with cleaner cuts and enhanced flavors.
Total time
In total, set aside about 1 hour and 15 minutes for preparation, baking, and cooling. Trust me, each minute is worth it for these delicious treats.
For more tips on whipping up magic cookie bars, check out AllRecipes for inspiration!
Nutritional Facts for 7 Layer Bars
When it comes to satisfying your sweet tooth, 7 layer bars combine convenience and indulgence beautifully. However, it’s a good idea to know what you’re munching on. Here’s a closer look at their nutritional profile:
Calories
A typical serving of 7 layer bars contains around 200 calories. While they’re definitely a treat, enjoying them in moderation is key!
Protein
These delightful bars pack roughly 2-3 grams of protein per serving. To boost your protein intake, consider pairing them with yogurt or a protein shake.
Sugar Content
One of the more indulgent aspects, 7 layer bars typically boast about 12-15 grams of sugar per serving. If you’re watching your sugar intake, try limiting your portion or skipping dessert on non-bar days.
For more insights on healthy desserts, you might find resources from the American Heart Association helpful in understanding how to balance sweet treats in a well-rounded diet.
FAQs about 7 Layer Bars
Creating 7 layer bars—also affectionately known as magic cookie bars—is a delightful way to satisfy your sweet tooth. But you might have some burning questions about preparation and storage. Let’s dive into some common FAQs that often pop up!
Can I make 7 layer bars ahead of time?
Absolutely! In fact, making 7 layer bars in advance can actually enhance their flavor. You can prepare them a day or two ahead, allowing the layers to meld together beautifully. Once they’ve cooled completely, simply cover the pan tightly with plastic wrap or aluminum foil and store them at room temperature. You’ll have delicious treats ready to go when the craving strikes!
How do I store leftover bars?
If you find yourself with delicious leftovers (if only!), storing them correctly is key to maintaining their taste and texture. For best results:
- Room Temperature: Keep them in an airtight container for up to 3 days.
- Refrigeration: For fresher, longer-lasting bars, store them in the fridge in an airtight container for up to a week.
- Freezing: Want to save some for later? Cut your bars and freeze them in a single layer on a baking sheet before transferring them to a freezer-safe container. They can last for up to 3 months.
What are the best substitutions for ingredients?
Need a tweak? Here are some easy swaps to keep your 7 layer bars delicious:
- Instead of sweetened coconut, try unsweetened for a less sugary option.
- Use almond flour in place of graham cracker crumbs for a gluten-free version.
- Instead of regular chocolate chips, semi-sweet or white chocolate can add a nice spin.
Feel free to explore and customize based on your preferences. For more substitution ideas, check out resources like Serious Eats or Bon Appétit, which offer in-depth ingredient guides.
Now that you have the answers, it’s time to whip up your own batch of these delightful 7 layer bars!
Conclusion on 7 Layer Bars
Recap of Why Homemade Bars Are a Great Choice
Homemade 7 layer bars offer a delightful blend of flavors and textures that you won’t often find in store-bought options. They’re customizable, allowing you to swap ingredients based on your preferences or what you have on hand. Plus, there’s a certain satisfaction in crafting something delicious from scratch.
Encouragement to Try the Recipe and Share Thoughts
I encourage you to try this 7 layer bars recipe—you might just discover your new favorite treat! Don’t hesitate to get creative: add a pinch of sea salt, swap chocolate chips for butterscotch, or experiment with nuts. Once you’ve baked them, share your thoughts or variations in the comments. We love hearing your experiences and tips! For more inspiration, consider checking out resources like Bon Appétit or Serious Eats for additional recipes and cooking advice. Enjoy your baking adventure!
Print7 Layer Bars: Indulgent Magic Cookie Bars for Home Bakers
These 7 Layer Bars, also known as Magic Cookie Bars, are a delightful combination of flavors and textures that will satisfy any sweet tooth. Perfect for baking enthusiasts!
- Prep Time: 15 minutes
- Cook Time: 30 minutes
- Total Time: 45 minutes
- Yield: 24 bars 1x
- Category: Dessert
- Method: Baking
- Cuisine: American
- Diet: Vegetarian
Ingredients
- 1 cup graham cracker crumbs
- 1/2 cup unsalted butter, melted
- 1 cup sweetened shredded coconut
- 1 cup chocolate chips
- 1 cup butterscotch chips
- 1 can (15 oz) sweetened condensed milk
- 1/2 cup chopped nuts (optional)
Instructions
- Preheat your oven to 350°F (175°C).
- Combine graham cracker crumbs and melted butter in a bowl, then press the mixture firmly into the bottom of a greased 9×13 inch baking dish.
- Layer the ingredients in the following order: add the coconut, chocolate chips, butterscotch chips, and nuts over the crust.
- Pour the sweetened condensed milk evenly over the top.
- Bake for 25-30 minutes or until the edges are golden brown.
- Allow to cool before cutting into bars and serving.
Notes
- For a crunchier texture, add more nuts.
- Feel free to mix different types of chocolate chips for a twist.
Nutrition
- Serving Size: 1 bar
- Calories: 160
- Sugar: 12g
- Sodium: 80mg
- Fat: 8g
- Saturated Fat: 5g
- Unsaturated Fat: 3g
- Trans Fat: 0g
- Carbohydrates: 20g
- Fiber: 1g
- Protein: 2g
- Cholesterol: 15mg
Keywords: 7 Layer Bars, Magic Cookie Bars, baking, dessert