Introduction to Christmas Cherry Bars
When the festive season rolls around, kitchens everywhere begin to buzz with delightful aromas and cheerful chatter. Among the treasures that surface during this time are Christmas Cherry Bars, a delightful treat that has the power to elevate any holiday gathering. But what makes these bars such a festive staple?
Why Christmas Cherry Bars Bring Holiday Cheer
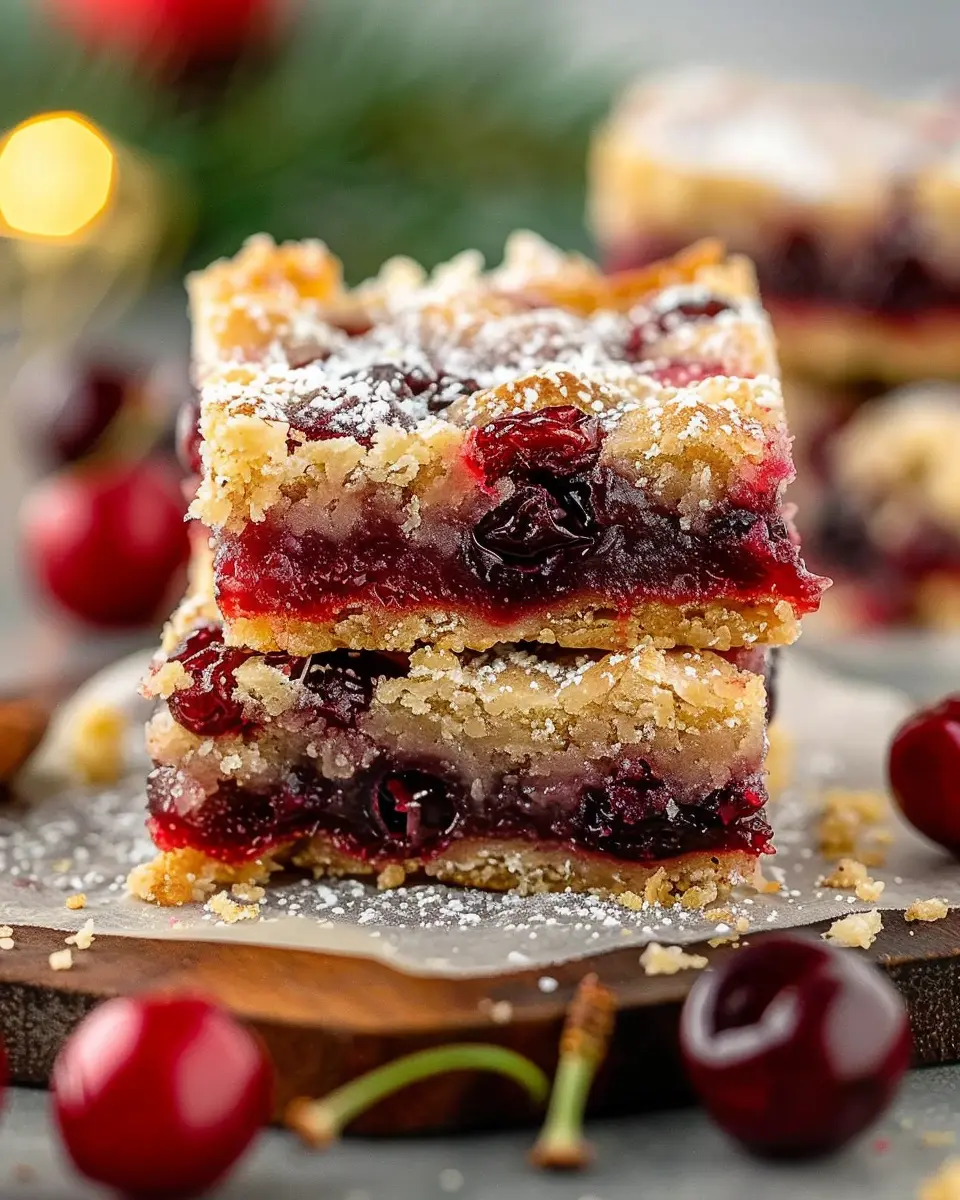
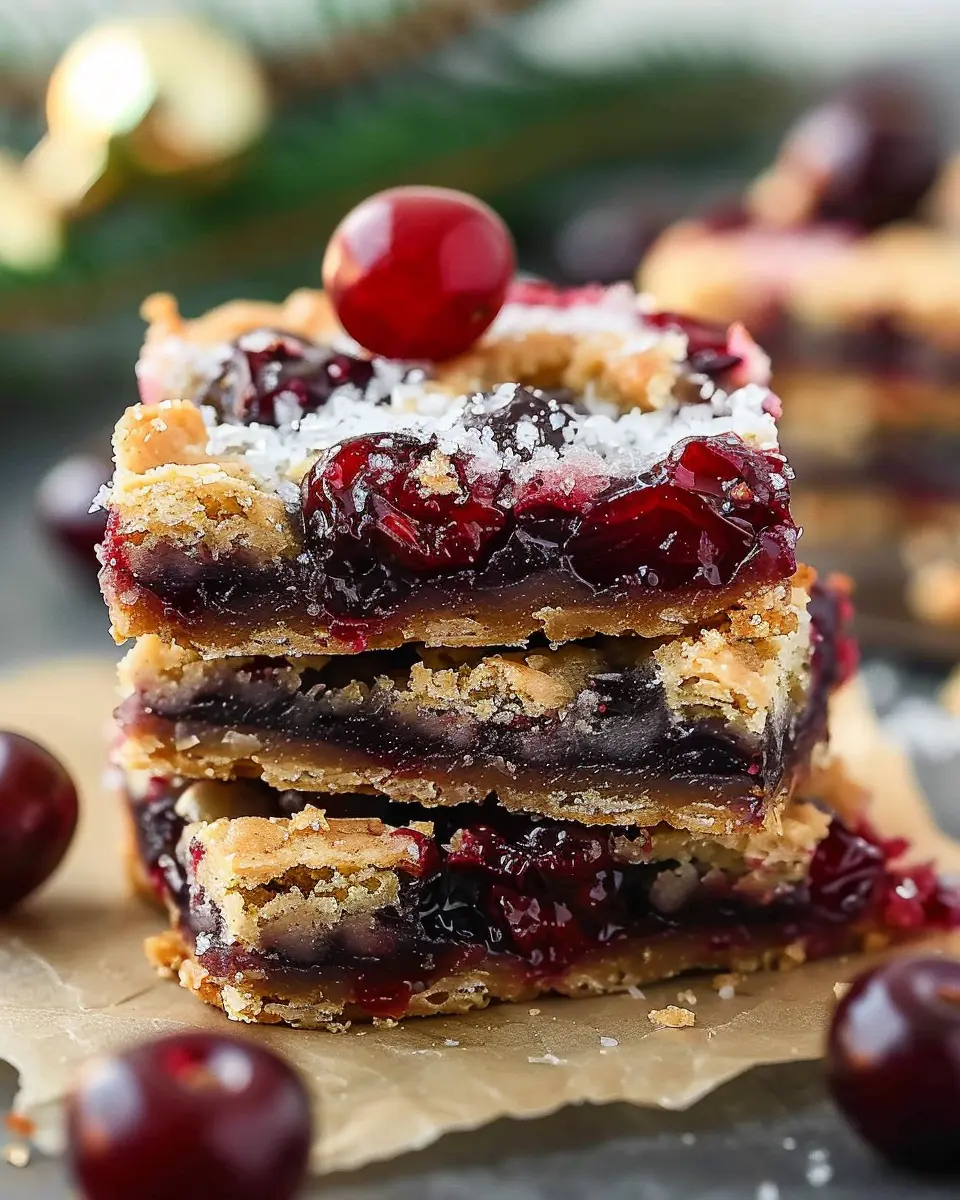
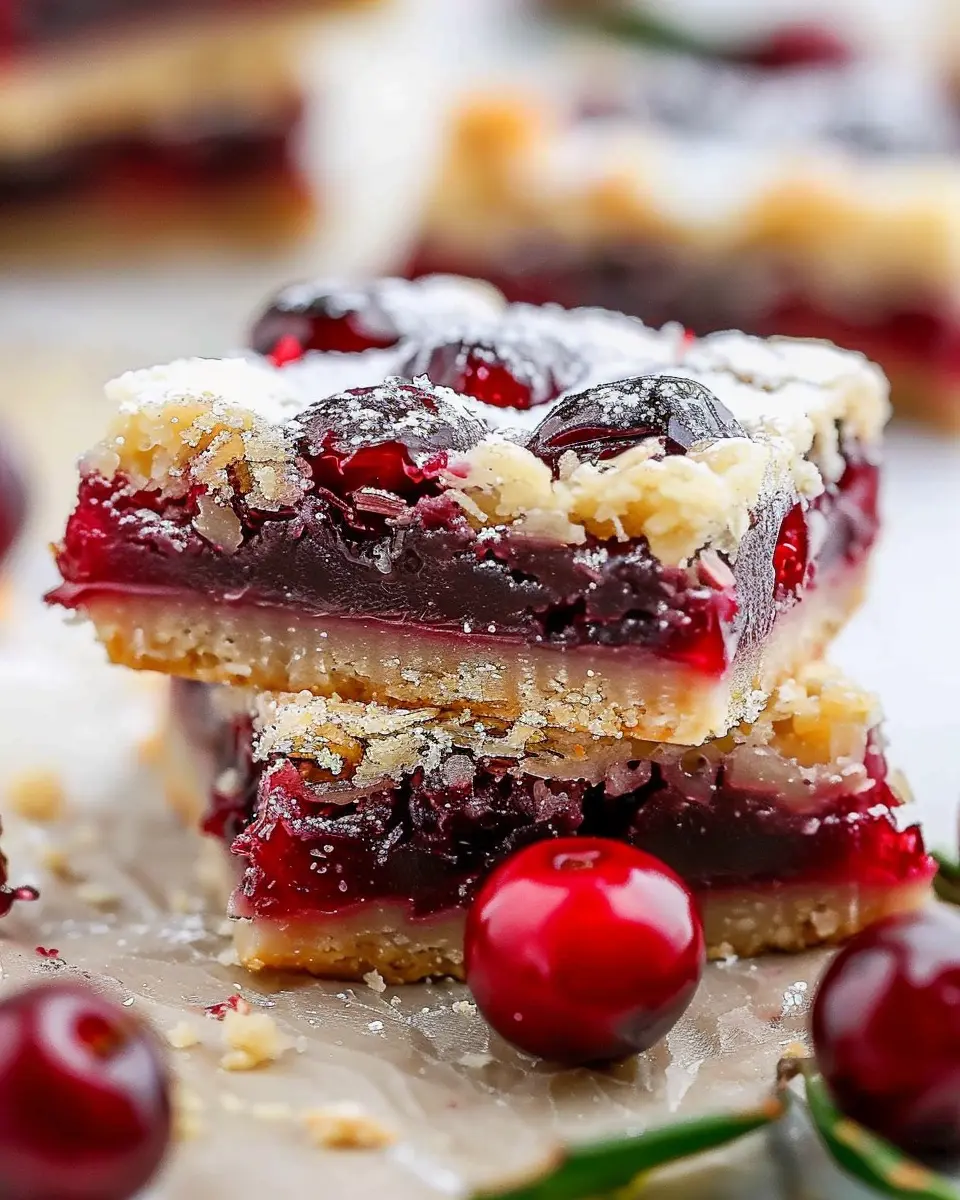
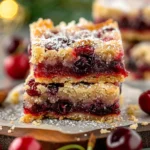
The beauty of Christmas Cherry Bars lies not just in their taste but in the memories and warmth they evoke. Imagine slicing into a rich, buttery crust and revealing a vibrant cherry filling, glistening and inviting. Each bite is a harmony of sweet and tart that dances on the palate, and it’s nearly impossible to enjoy them without a smile.
-
Nostalgic flavors: For many, cherry desserts are a reminder of family gatherings and a touch of nostalgia, evoking feelings of love and togetherness. According to a study by the American Psychological Association, food often triggers powerful emotional responses. The holidays are a time when we cherish those feelings, and these bars can help cultivate that connection.
-
Versatile treats: Whether you serve them at a holiday party, put them out for family movie nights, or gift them in a festive tin to friends and neighbors, Christmas Cherry Bars fit seamlessly into any occasion. They’re not just limited to dessert; try pairing them with a hot cup of cocoa or a rich cup of coffee for a cozy afternoon treat.
-
Easy to make: As busy young professionals, you may not have all day to spend in the kitchen. The great news is that these bars are relatively easy to whip up! With a short list of ingredients and straightforward steps, you can create something that looks beautiful and tastes fantastic without hours of fuss.
So, gather your ingredients, channel your inner baker, and let’s spread some holiday cheer. Get ready to impress loved ones and indulge in a treat that’s not only adorable but also bursting with flavor. If you’re seeking a reliable recipe to kick off your cherry bar journey, check out this step-by-step guide and get inspired!
Ingredients for Christmas Cherry Bars
Essential ingredients for a perfect batch
Creating delicious Christmas Cherry Bars starts with the right base. Here’s what you’ll need:
- Cherry pie filling: The star of the show! Opt for a high-quality filling to ensure flavor.
- Butter: Adds richness and moisture to keep your bars tender.
- Flour: All-purpose flour works wonders for a soft, chewy texture.
- Granulated sugar: Sweetens the deal while enhancing the cherry flavor.
- Eggs: Bind the ingredients and provide structure.
- Baking powder: Helps the bars rise perfectly for that delightful bite.
For some helpful tips, check out this baking guide for measuring and ingredient substitutions!
Optional ingredients for a customized touch
Want to elevate your Christmas Cherry Bars even further? Here are some optional tweaks you can consider:
- Almond extract: A splash of this can impart a lovely, nutty flavor that pairs beautifully with cherries.
- Chocolate chips: Because who doesn’t love chocolate? Add a handful for a delicious contrast.
- Chopped nuts: Walnuts or pecans provide a lovely crunch and added depth.
The holiday season is about creativity and personal touch, so feel free to experiment!
Preparing Christmas Cherry Bars
There’s something magical about the holiday season, isn’t there? It’s that warm feeling of nostalgia that draws us back to family gatherings and treasured recipes. This year, why not make Christmas extra special by preparing Christmas Cherry Bars? These delightful treats combine a luscious cherry filling with a buttery crust that’s perfect for sharing. Let’s dive into the preparation process!
Gather and Prepare Your Ingredients
Before you get started, it’s essential to gather all your ingredients. You want everything at your fingertips to make the cooking process smooth and enjoyable.
Here’s what you’ll need:
-
For the cherry filling:
-
2 cups of fresh or frozen cherries (pitted)
-
½ cup of sugar
-
2 tablespoons of cornstarch
-
1 tablespoon of lemon juice
-
1 teaspoon of vanilla extract
-
For the crust and topping:
-
1 ½ cups of all-purpose flour
-
½ cup of granulated sugar
-
1 teaspoon of baking powder
-
½ cup of butter (softened)
-
1 egg
-
A pinch of salt
Make sure to wash and prep your cherries first, especially if you’re using fresh ones. We all love a good cherry flavor without the hassle of pits!
Make the Cherry Filling
Now, let’s create that scrumptious cherry filling. In a medium saucepan over medium heat, combine your cherries, sugar, cornstarch, lemon juice, and vanilla extract. As the mixture warms, the cherries will release their juices, creating a delightful syrup. Stir gently for about 5-7 minutes until the mixture thickens. This filling is not only delicious but can also be used in other desserts or on pancakes! While it cools, you can get started on the crust.
Prepare the Crust and Topping Mixture
For the Christmas Cherry Bars crust, the process is just as simple. In a large mixing bowl, combine the flour, sugar, baking powder, and salt. Add the softened butter, mixing until the mixture resembles coarse crumbs. Then, beat in the egg until everything is well combined. This dough will form the foundation and topping of your bars, so make sure it’s nice and crumbly yet stick together nicely.
You can even get creative here! Consider adding a pinch of cinnamon or nutmeg to the crust for that warm holiday spice.
Assemble the Bars in the Baking Dish
Once your cherry filling has cooled, it’s time for the fun part: assembling your Christmas Cherry Bars! Preheat your oven to 350°F (175°C). Grease a 9×13-inch baking dish lightly.
- Press a little over half of the crust mixture into the dish as the bottom layer.
- Spread the cooled cherry filling evenly on top of the crust, making sure it’s well-distributed.
- Crumble the remaining crust mixture on top of the cherry filling, ensuring it covers most of the surface.
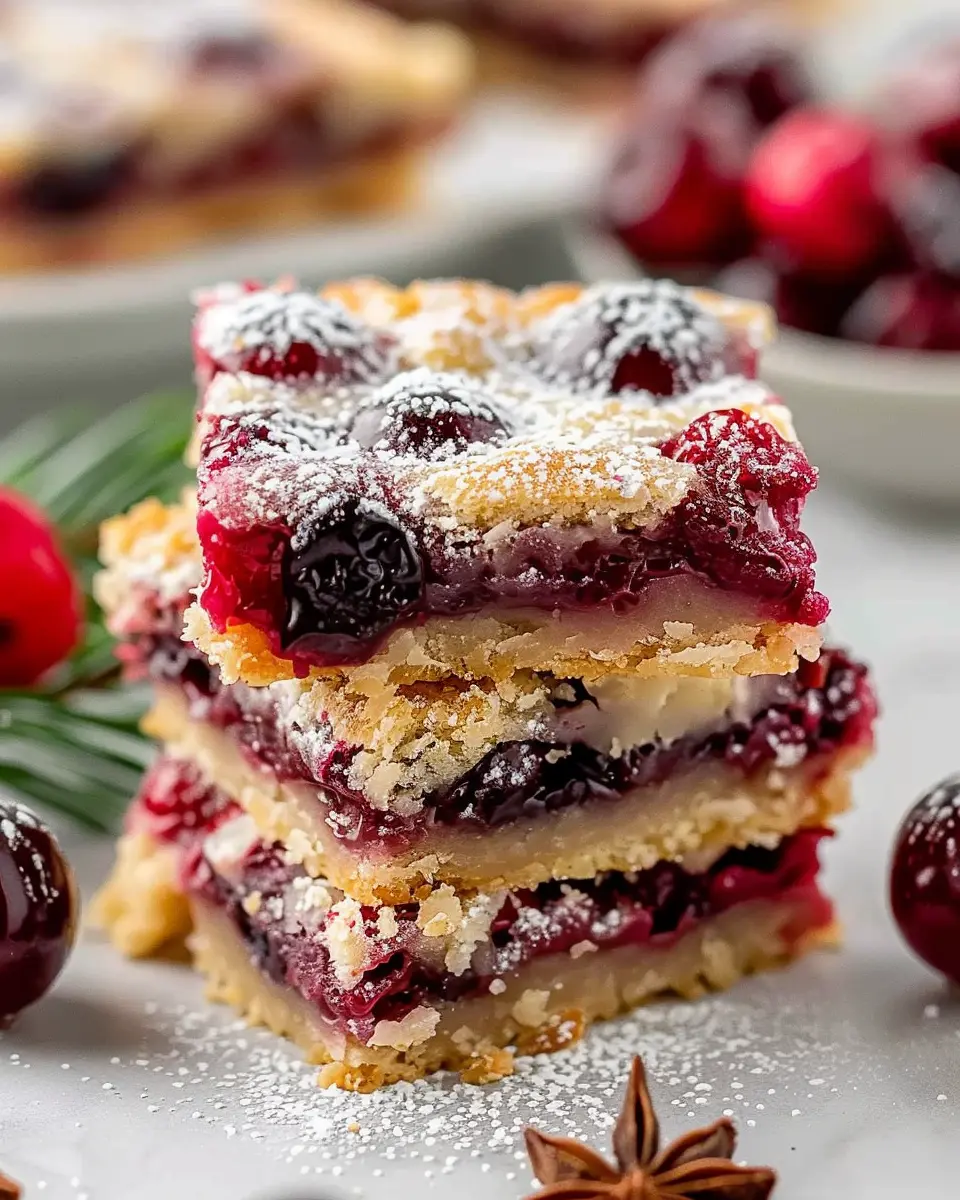
This layered assembly not only delivers flavor but also creates an appealing look—ideal for Christmas gatherings!
Bake Until Golden
Carefully place the baking dish into your preheated oven. Bake for about 30-35 minutes, or until the top is golden brown. The heavenly aroma will fill your kitchen, making it hard to resist sneaking a taste before they’ve even cooled down.
Once golden and bubbly, pull your Christmas Cherry Bars from the oven and allow them to cool completely in the dish. For the best texture, let them sit for at least an hour before cutting into squares.
As you slice them into perfect portions, consider dusting them with a little powdered sugar for a festive touch.
Enjoy your homemade Christmas Cherry Bars with friends or family or savor them solo while cozying up with a good book. Happy baking!
Variations on Christmas Cherry Bars
The classic Christmas Cherry Bars recipe is already a holiday favorite, but why stop there? Let’s dive into some delicious variations that will elevate your dessert game this festive season!
Almond Cherry Bars
If you’re a fan of nutty flavors, Almond Cherry Bars will be a delightful twist. Start by adding a generous teaspoon of almond extract to the batter for a fragrant enhancement that complements the sweet cherries beautifully. You could even sprinkle slivered almonds on top before baking for an added crunch.
- Tip: Consider pairing your bars with a warm cup of almond milk for a cozy, festive treat!
This variation not only introduces a subtle complexity but also provides an aesthetically pleasing finish. It’s ideal for impressing guests during holiday gatherings or as a sweet surprise for family.
Chocolate Cherry Bars
For chocolate lovers, Chocolate Cherry Bars will become a fast favorite. Simply mix in half a cup of chocolate chips into your traditional cherry batter. You can even layer some melted dark chocolate on top to blend the cherry and chocolate flavors seamlessly. This rich combination is perfect for those chilly winter evenings!
- Serving suggestion: Serve these bars warmed, topped with a scoop of vanilla ice cream for a decadent dessert that’s bound to steal the show.
Experimenting with these variations allows you to cater to different tastes and adds a personal touch to the classic Christmas Cherry Bars. It’s a fun way to get creative in the kitchen! If you’re looking for additional inspiration, check out this article on baking substitutions for more ideas. Happy baking!
Cooking tips for Christmas Cherry Bars
Ensuring a soft, chewy texture
Achieving the perfect texture is essential when making Christmas Cherry Bars. To keep them soft and chewy, avoid overmixing the dough. Gently fold in the flour until just combined; this helps maintain a delicate balance. Using fresh cherries or high-quality cherry preserves also makes a difference. For a fun twist, consider adding a splash of almond extract. Almond brings out the cherry’s natural flavors, making your bars even more delicious!
Store leftovers properly for maximum freshness
If you’re lucky enough to have leftovers—though I doubt it!—here’s how to keep your Christmas Cherry Bars fresh. Allow them to cool completely before storing. Place them in an airtight container at room temperature for up to three days. For longer storage, consider freezing them. Just wrap each bar in plastic wrap, then place them in a freezer-safe bag. They can last up to three months, making them a convenient treat for unexpected guests or busy days!
For more storage tips and sweet inspirations, check out sources like Food Safety.gov for best practices in the kitchen. Happy baking!
Serving suggestions for Christmas Cherry Bars
Festive presentation ideas
When it comes to making your Christmas Cherry Bars look as delightful as they taste, creativity is key! Try cutting the bars into holiday shapes—think stars or Christmas trees for an extra festive touch. Arranging them on a beautiful platter garnished with powdered sugar and fresh mint leaves will add a touch of elegance. You might even consider wrapping individual bars in festive cellophane tied with a ribbon for gifting or sharing at gatherings.
For a fun twist, serve your bars alongside a scoop of vanilla ice cream or a dollop of whipped cream, drizzled with a cherry sauce for a decadent dessert experience. You can find some great serving dish options at sites like Williams Sonoma that will make your treats shine.
Pairing with hot beverages
What better way to complement your Christmas Cherry Bars than with a warm drink? A rich hot chocolate topped with whipped cream can enhance the sweet and tart flavors of the bars splendidly. Alternatively, consider a spiced apple cider; its fruity notes resonate beautifully with the cherry flavor.
Feeling adventurous? Try pairing your bars with chai tea, which brings a comforting spice. These pairings not only elevate the taste experience but create a cozy atmosphere, perfect for holiday gatherings. Remember to serve your drinks in festive mugs to keep the holiday spirit alive!
Time breakdown for Christmas Cherry Bars
When planning to whip up some delicious Christmas Cherry Bars, it’s essential to manage your time wisely. Here’s a quick breakdown to help you stay organized while preparing these delightful treats.
Preparation time
To get your kitchen ready, you’ll need about 15 minutes for preparation. This includes gathering your ingredients, chopping cherries, and mixing the batter. It’s the perfect time to crank up some festive music and get into the holiday spirit!
Baking time
Now, the fun part! Bake your Christmas Cherry Bars for approximately 30 minutes. Make sure to keep an eye on them, as you want that golden-brown finish.
Total time
Overall, you’ll spend about 45 minutes from start to finish. In no time, your home will smell amazing, and you’ll have a batch of scrumptious bars ready to share with friends and family. For more festive recipes, consider checking out this collection of holiday baking ideas. Enjoy your baking adventure!
Nutritional facts for Christmas Cherry Bars
Calories
If you’re curious about indulging in Christmas Cherry Bars, each bar typically packs around 200 calories. That makes them a delightful treat for your holiday festivities without completely derailing your healthy eating habits. Enjoying one bar can satisfy your sweet tooth while keeping your calorie count in check!
Sugar Content
When it comes to Christmas Cherry Bars, the sugar content is a vital factor to consider. Each bar generally contains about 15 grams of sugar. This sweetness comes from the cherries and added sugars used in the recipe. If you’re watching your sugar intake, think of these bars as a special treat to enjoy in moderation.
Dietary Fiber
Dietary fiber is an important element to look for in any dessert. These Christmas Cherry Bars offer around 2 grams of dietary fiber per serving, thanks to the inclusion of whole grains and cherries. Fiber helps support digestion and keeps you feeling full longer, making this festive treat a bit more balanced.
By enjoying these bars, you’re not just treating yourself but also adding a touch of nutrition during the holidays! If you’re keen to explore more on the benefits of fiber, check out resources from the American Heart Association.
FAQs about Christmas Cherry Bars
Can I use frozen cherries?
Absolutely, you can use frozen cherries in your Christmas Cherry Bars! In fact, they can be just as flavorful as fresh cherries, especially if you’re making these delicious treats when cherries are out of season. Just remember to thaw and drain the cherries before adding them to the batter. This will prevent excess moisture, ensuring your bars don’t turn out soggy. If you’re interested in even more cherry recipes, check out this great resource from Cherry Marketing Institute!
How do I store cherry bars?
Storing your Christmas Cherry Bars properly is key to keeping them fresh. After they’ve cooled completely, cut them into squares and store them in an airtight container at room temperature. They’ll last about 3-4 days this way. If you want to keep them for longer, consider refrigerating them, where they’ll stay fresh for up to a week. For ultimate longevity, you can freeze them. Just wrap individual squares tightly in plastic wrap before placing them in a freezer-safe container; they’ll stay good for up to three months.
Can I make these bars gluten-free?
Definitely! Making Christmas Cherry Bars gluten-free is simple. Just swap out the all-purpose flour with a gluten-free flour blend. Many blends use a mix of rice flour, almond flour, and tapioca flour, which will create a similar texture. For best results, ensure you’re using a blend that contains xanthan gum, as this helps mimic gluten’s elasticity in baking. Gluten-free baking can be a game-changer during the holidays, especially when sharing treats with friends and family with dietary restrictions.
If you’re curious about more gluten-free baking tips, don’t miss out on guidance from established resources like Gluten-Free Society. Happy baking!
Conclusion on Christmas Cherry Bars
Final thoughts and encouragement to bake
As we wrap up our exploration of Christmas Cherry Bars, it’s clear these treats are a delightful addition to your holiday festivities. Not only do they offer a burst of flavor, but they also bring a touch of warmth and nostalgia to gathering around the table. Baking these bars can be a fun, creative outlet—perfect for sharing with friends or family.
Don’t hesitate to put on an apron and try your hand at these scrumptious bars. You might even find that this recipe becomes a cherished holiday tradition. Remember, the joy of baking is in the journey, so let your creativity shine! If you’re looking for more inspiration, check out resources like Taste of Home for additional festive recipes. Happy baking!
PrintChristmas Cherry Bars: The Easiest Indulgent Recipe Ever
Indulge in the festive flavors of Christmas with these easy-to-make Cherry Bars, perfect for holiday gatherings.
- Prep Time: 15 minutes
- Cook Time: 30 minutes
- Total Time: 45 minutes
- Yield: 12 servings 1x
- Category: Dessert
- Method: Baking
- Cuisine: American
- Diet: Vegetarian
Ingredients
- 1 cup chopped cherries
- 1 cup all-purpose flour
- 1/2 cup sugar
- 1/2 cup butter, softened
- 1 egg
- 1 teaspoon vanilla extract
- 1/2 teaspoon baking powder
- 1/4 teaspoon salt
Instructions
- Preheat your oven to 350°F (175°C).
- In a bowl, cream together the butter and sugar until smooth.
- Beat in the egg and vanilla.
- Combine flour, baking powder, and salt; gradually stir into the creamed mixture.
- Fold in the chopped cherries.
- Spread into a greased baking dish.
- Bake for 25-30 minutes.
- Cool before cutting into squares.
Notes
- For a richer flavor, use a mix of fresh and dried cherries.
- These bars can also be topped with powdered sugar.
Nutrition
- Serving Size: 1 bar
- Calories: 150
- Sugar: 10g
- Sodium: 100mg
- Fat: 7g
- Saturated Fat: 4g
- Unsaturated Fat: 2g
- Trans Fat: 0g
- Carbohydrates: 20g
- Fiber: 1g
- Protein: 2g
- Cholesterol: 20mg
Keywords: Christmas Cherry Bars